
As a programmer for some years already, I have seen my shares of people asking me to format their Windows PC. And true enough, a lot of people in the IT world sometimes skip steps that I feel that I need to share to you guys in order not to suffer the horror of missing files and folders.
Many of my steps are pretty straight forward. And as the saying goes, an ounce of prevention is better than a pound of cure. I will also include scenarios that you may encounter along the way.
Step 1 – Prepare the Backup Hardware
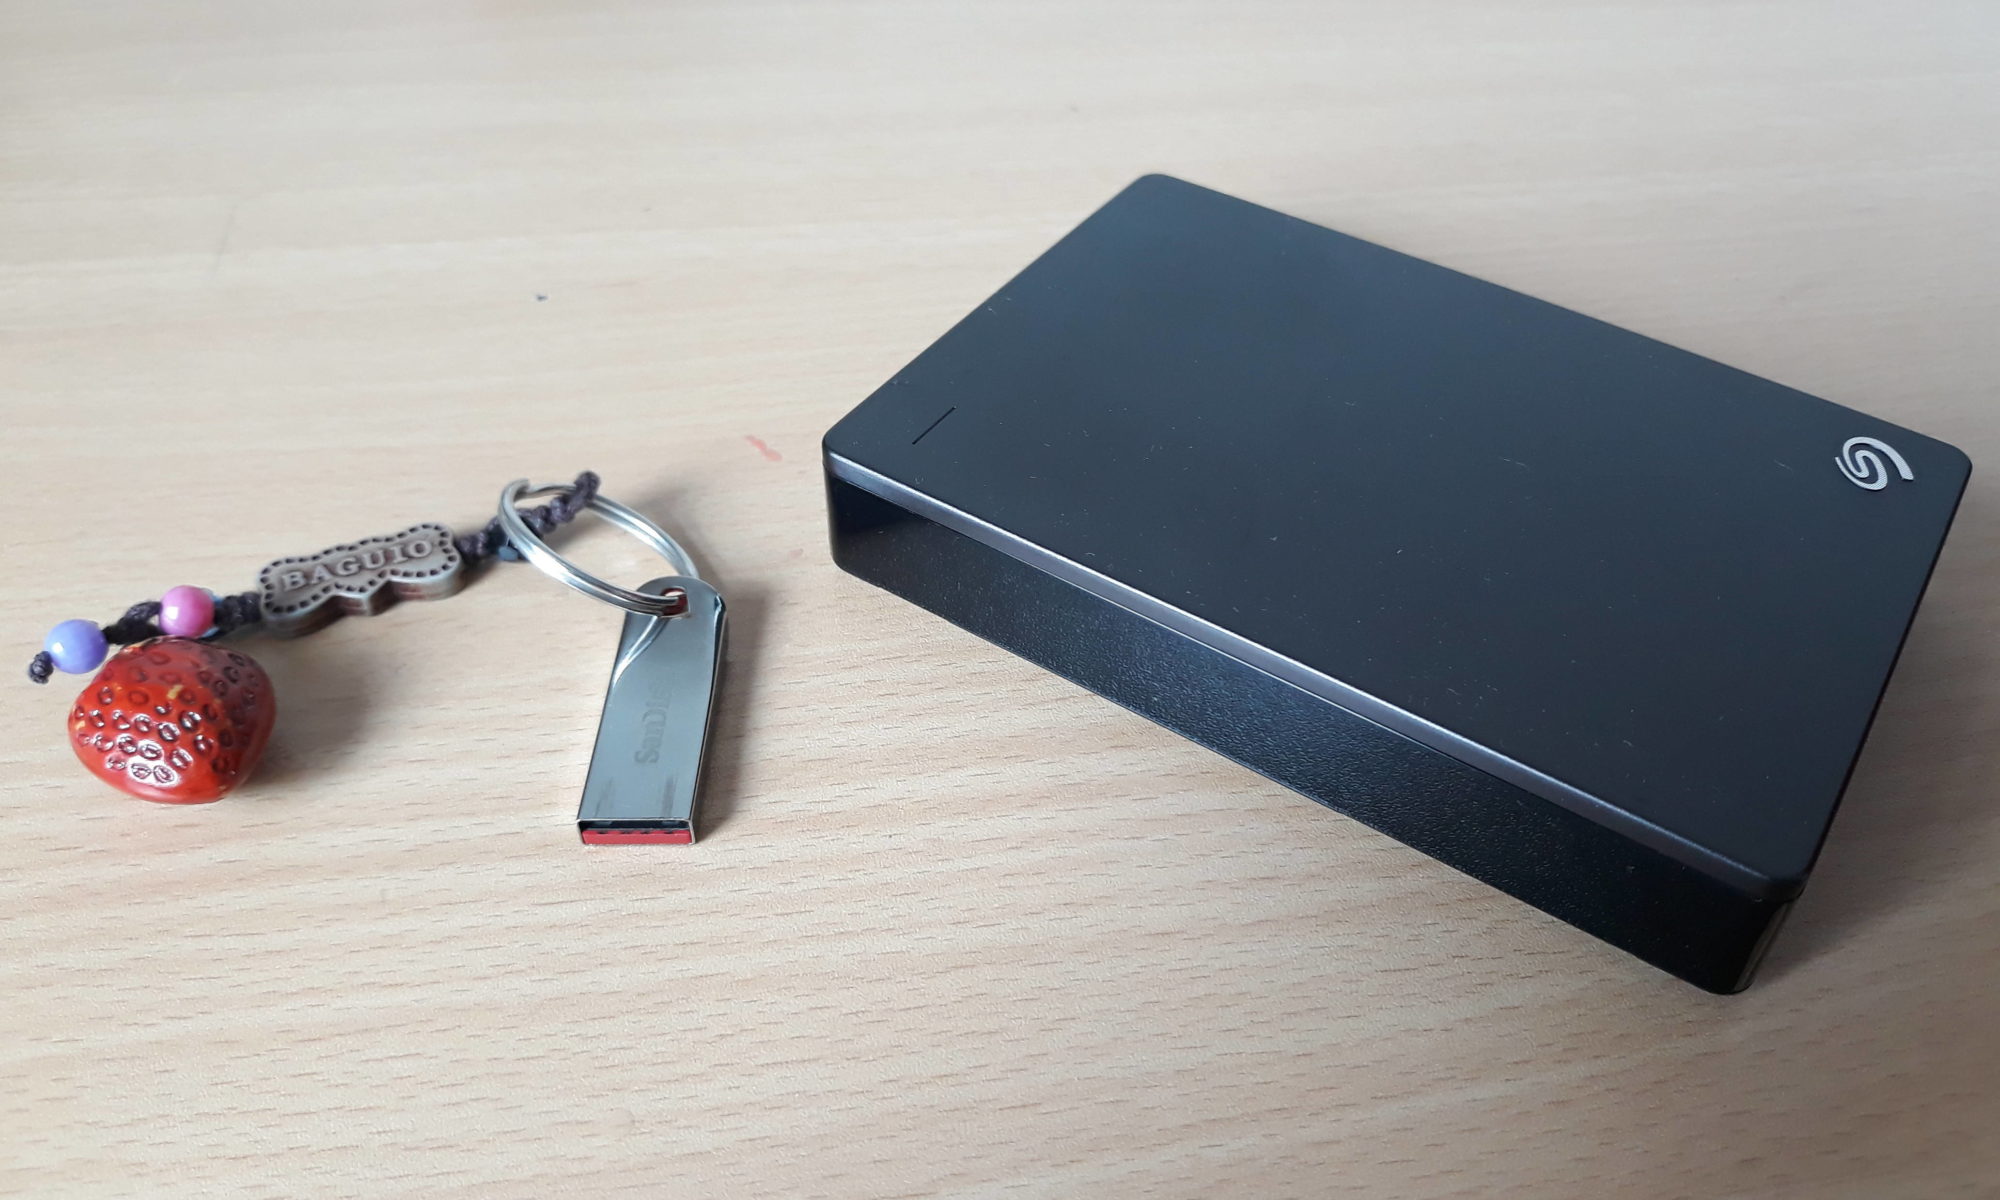
Start first by preparing a large external drive or USB thumb drive beforehand. It would probably be a good idea if it would be empty and without your personal data so that just in case d files are infected with a virus or malware, your files are pretty safe.
Case Scenario: If you can still open the computer and you can still login, that is well and good for you. But just in case the windows operating system is corrupted or the user forgot their password, what you can do is you can install a windows operating system on top of the existing one to get the files. Just make sure not to erase and you want to keep the existing windows operating system. Windows usually renames the old one as WINDOWS_OLD folder and Program Files to Program Files (OLD), I think. This step is a little tedious since you will be redoing the formatting again later to have a clean slate. But this step is surely worth the time.
Step 2 – Create Folders In Your External Drive
To me, I am a bit of an organization freak for files and folder. What I usually do is I start with the folders: Drive C, Drive D, Desktop, Documents, Pictures, Music and Videos. Once you have these folders you can start moving the files.
Bonus Tip: You may wonder why you want to move the file instead of copy. The reason for the move is so that just in case the operations get cut, you get to continue where you left off. Instead of guessing what folder you stopped on. Anyway, you get to format the whole drive so no need to leave the file in the hard drive.
For the Drive C and Drive D files, you get to see IT tech created folders like like util for utilities, or mboard for motherboard which is pretty important if you will format the computer. For me personally, I create folders like Software and Drivers to house all of the freeware software that I install. The reason in doing this is so that if a brother or sister or coworker needs the software that I installed, I just ask them to copy the software from the unit I just reformatted.
Step 3 – Use the Search or Find Window
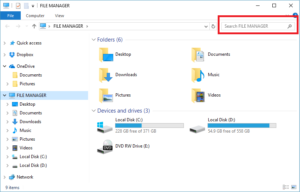
Before we use the find option in windows to look for common files that we might have missed after our first sweep, please go to the Windows Explorer and open the hidden files and folders options. This tip is pretty useful if your pc is already infected with a virus as they always hide them from users.
Once you are done, try look for doc (MS Word), xls (MS Excel), pdf (Acrobat Reader), zip files. The most common file that we all have are jpg or jpeg picture files, not to mention the avi, mpeg or mp4 movie files.
Big tip no. 1: If the user is an architect, you might need to google file extensions for Autocad files. If your friend is an artist you might need to look for Adobe Photoshop or Corel Draw files.
Big tip no. 2: It is still best to ask what files he or she commonly uses especially if the user is a student. Sometimes they need file extensions needed for their school projects like Visual Studio files or Maya.
Step 4 – Backup the System Settings
In this step, we will be going to 4 settings in the Control Panel of the computer. Before I usually open up Microsoft Paint press the print-screen on the keyboard to save each one per file. That was in the golden age when I haven’t even got my own mobile phone. These days, I use my phone’s camera to get a snapshot which is one of the wonders of modern technology.
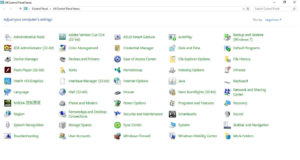
- Device Manger – To access this, you need to click the Devices The Device Manager tells you all of the drivers are located to make your computer works. If you did not find any driver installers on your computer, chances are, this is your best bet to know what the computer needs.
- System Information – To access this, you need to go to click the System This page will tell you the computer name, and also the version of windows the user is running.
- Software Installed – To access this, you need to go to click the Programs and Features. This page lists down all of the software the user uses. It is good to inform the user of the software that he needs to reinstall by himself. It’s not always guaranteed that what software he has you could bring back again. An example of these are game software (e.g. in my time, Red Alert, Warcraft and Star Craft) and specialized (e.g. software like Autocad and Adobe Suite that might require serial keys)
- Network Settings – To access this, you need to click the Network and Sharing Center, then Change Adapter Settings. This step is needed if the computer you will try to format belongs to a computer or if it is for a school. Since both institutions sometimes configures devices like laptop to access their network using IP address and Default Gateways. This will take you to the individual LAN and WIFI adapter the computer has. You need to copy the IP address, Subnet Mask and Default Gateway if they are present. If both settings are set to Obtained IP Address Automatically, no need to do anything for this step.
Well, that’s it for me. After following these steps, you should be able to proceed with formatting the computer with a clear conscience that your friend or office mates would not be crying by your side for lost and unrecoverable files.